Homemade Vegan Paneer
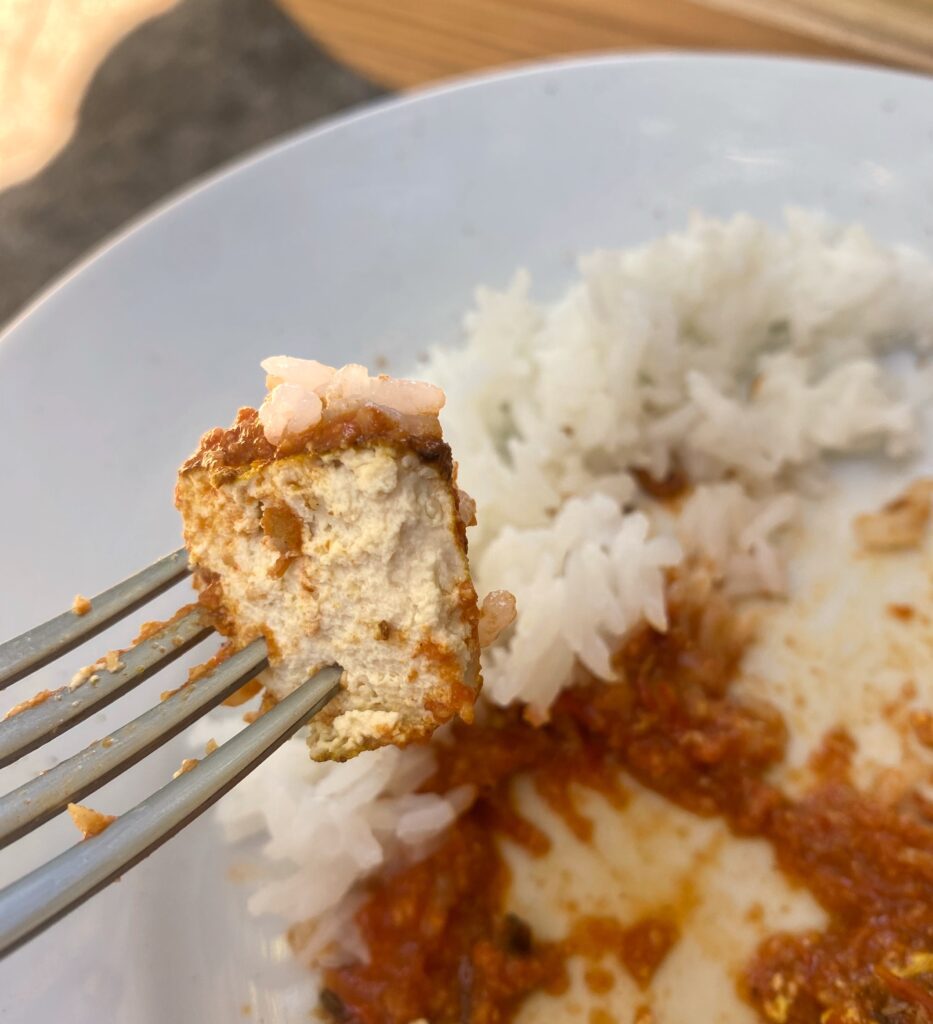
In Indian cuisine, paneer plays a big part. Unlike most cheeses, paneer does not melt, which makes it ideal for cooking. It’s often cubed and added to rich, spiced curries like one of my very favourite paneer recipes, Palak Paneer (spinach curry), Matar Paneer (peas curry), and Paneer Tikka Masala – see my recipe for a Vegan Paneer Tikka Masala. Paneer is also used in grilled dishes, such as Paneer Tikka, where it’s marinated in spices and yogurt before being grilled on skewers.
What is Paneer?
Paneer is a type of fresh cheese commonly used in South Asian cuisine, particularly in India. It is usually made from curdled cows milk, often freshly made in the morning or the day before for every day use. Its characteristic lies in its firmness and mild flavor.
Vegan Paneer: A Simple and Delicious Alternative
Making vegan paneer at home is surprisingly easy and requires only a few simple ingredients. I have done quite some research and try outs with different types of milk. First, I made it from homemade peanut-almond milk, which resulted in a medium firm cheese, which was quite nice, but not yet totally what I wanted. In the end, the version with soy milk was the one that convinced most in terms of firmness, while the others remained too soft to be cut in cubes and fried, which was my goal, as I was preparing for my Vegan Paneer Tikka Masala recipe!
Ingredients for Vegan Paneer
To make your vegan paneer, you’ll need the following ingredients:
- 2 liters of soy milk (unsweetened and plain, best in bio quality)
- 4-6 tablespoons of lemon juice (in this case, I used a storebought bottled juice after some fails with my neighbours beautiful ripe lemons, just to be sure it has enough acidity to make the milk curdle well without getting too sour in flavour)
- 1 cup of (ice) cold water
- 1 teaspoon of salt
- Cheesecloth or a clean kitchen towel
- A strainer or a colander
Step-by-Step Guide to Making Vegan Paneer
Step 1: Heat the Soy Milk
Pour the soy milk into a large saucepan and heat it over medium heat. Stir occasionally to prevent it from sticking to the bottom of the pan. Heat the milk until it reaches a gentle boil.
Step 2: Add the Coagulant
Once the soy milk is boiling, reduce the heat to low. Mix the water and the lemon juice. Add slowly the lemon juice-water while stirring gently. You’ll notice the milk starting to curdle as the acid causes it to separate into curds and whey. Continue adding the coagulant until the milk has fully curdled.
Step 3: Strain the Curds
Remove the saucepan from the heat, add the salt to the mixture, stir gently and let it cool down. Line a strainer or colander with cheesecloth or a clean kitchen towel and place it over a large bowl. Once the curdled mixture has cooled down either completely (which takes approximately 1 hour and is best) or, if you are in a hurry, at least to half of the heat, pour the curdled mixture into the strainer, allowing the whey to drain into the bowl. You might need to do this in batches, due to the high quantity of milk and the time that it takes for the whey to drip down into the pot.
Step 4: Press the Paneer
Gather the edges of the cloth and gently squeeze to remove excess whey. Be careful not to squeeze too strongly, as your curds will shoot through the cloth! Place the cloth with the curds into a rectangular perforated form positioned well on an oven rack with a tray underneath or similar (this serves to collect the whey), spread the curds evenly with a spoon, wrap the cloth over it again so that you can put something on it, and place a heavy object on top to press the paneer. Allow it to sit overnight to set.
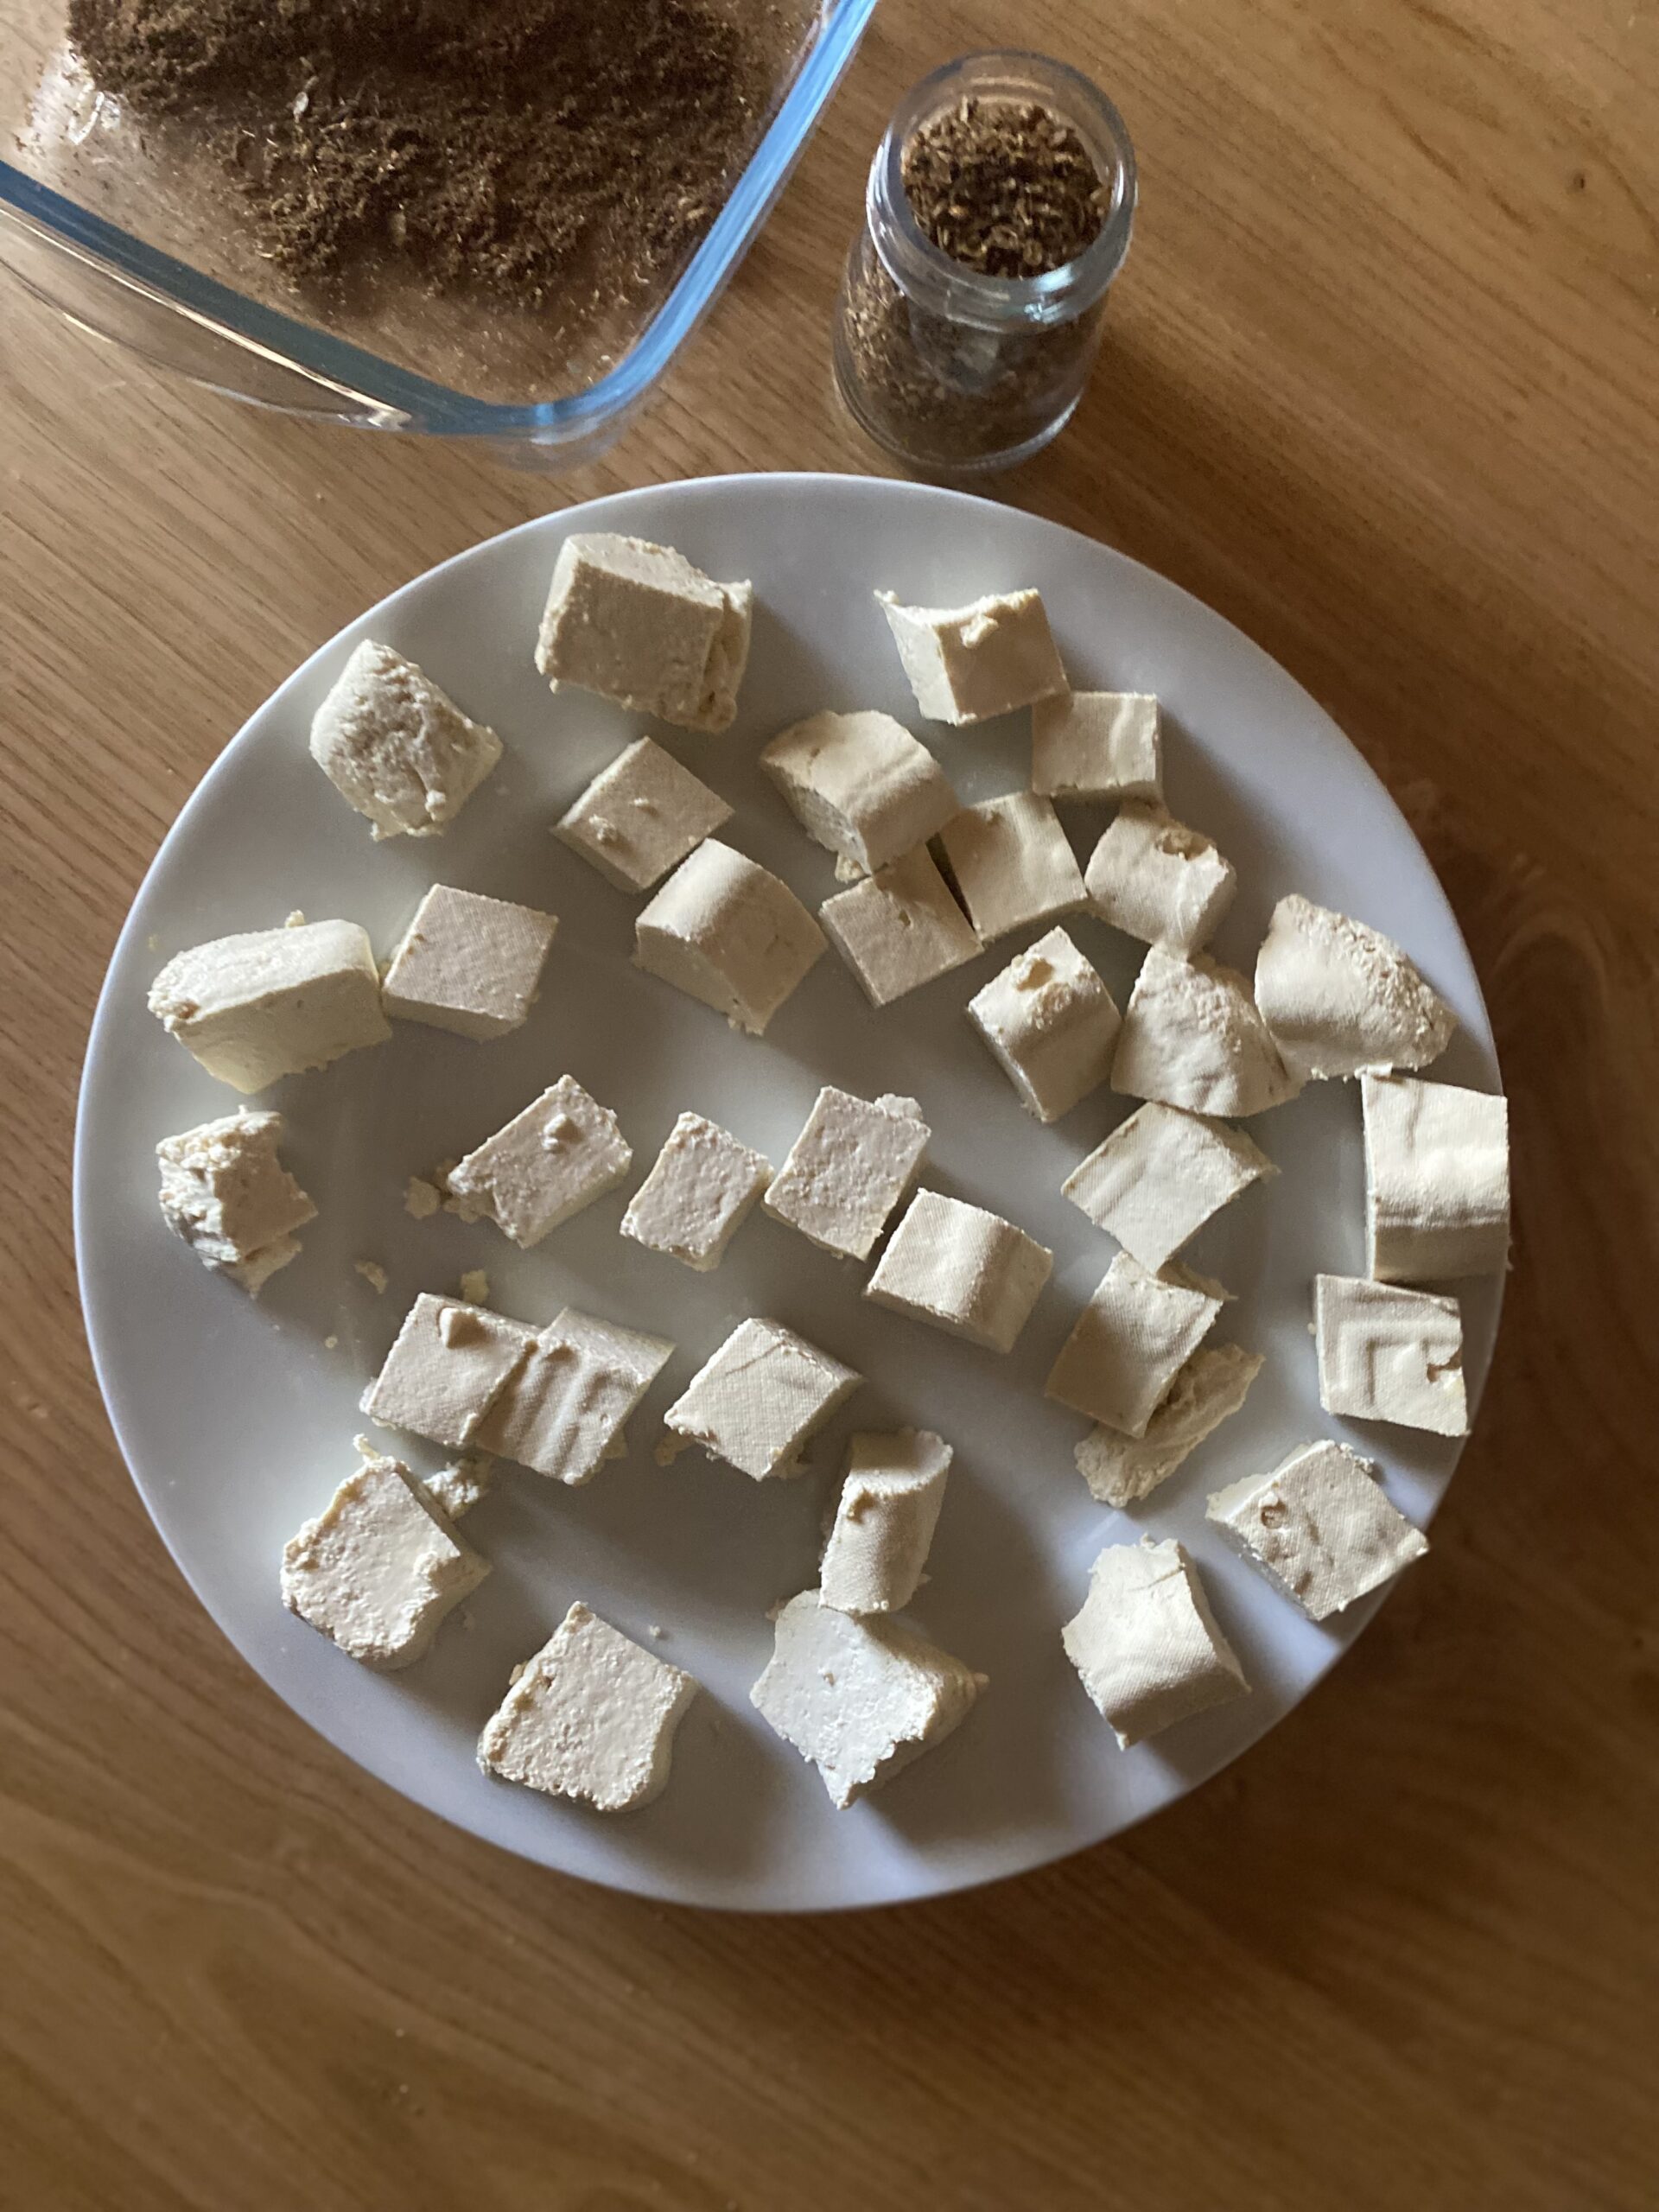
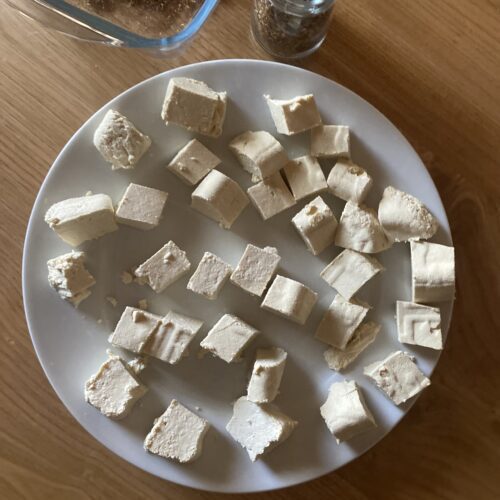
Step 5: Chill and Cube
After the paneer has set, transfer it to the refrigerator and chill for another hour. This helps it firm up further. Once chilled, remove the paneer from the cloth and cut it into cubes.
Homemade Vegan Paneer
Equipment
- 1 cheese cloth or fine kitchen towel
- 1 strainer or colander
- 1 tofu press, something similar or, if you have to improvise, a square box (ca. 10×15 or a little bit larger) with tiny wholes I am using a plastic box that came with my strawberries.
- something heavy to place on the paneer overnight I improvised with two sealed tofu blocks that fitted just right into my plastic box, a wooden board placed on them and my blender bottom part on top to give pressure …
Ingredients
- 2 liters bio soy milk
- 6 tbsp lemon juice
- 1 cup water best if it has low ph and ice cold
- 1 tsp salt
Instructions
- In a large pot, bring the soy milk to a boil.Mix the lemon juice with the water.
- Once the milk is bubbling, pour in the lemon-water mixture, stir and watch the milk coagulate (the proteins seperate from the whey).
- If the milk does not seperate, add 1-2 tbsp more lemon juice. This should be the maximum though and should make it seperate eventually, as adding more acidity will make the paneer turn out too sour!
- Switch off the heat. If you can, place the pot in a cool place to make it cool down faster. Place the colander or sieve on a pot and the cheesecloth or kitchen towel over it.
- Once the milk is more or less cool (better if it is completely cooled down, but if you are in a hurry, it should work now like this), pour it through your cheesecloth or kitchen towel. Make sure that the edges don't slip away!You might need to do this in batches, due to the high quantity of milk and the time that it takes for the whey to drip down into the pot. Gently squeeze to help the process.
- Once all the milk is in the cloth and it does not flow over, you can leave it there until all the liquid is through. This might test you in your patience 🙂
- Now, as soon as the creamy mixture takes form in your cloth, and you squeezed out gently the excess liquid (be careful not to oversqueeze, as it will shoot in all directions through the cloth!), you can proceed to the final step.
- Place the cheesecloth or kitchen towel with your cheesy mixture into your perforated box and drap the ends nicely so you can place something on top. Place the box onto a rack with a tray underneath, the heavy items on top and leave it like this overnight. If you can, place the whole set-up into the fridge or into a cool cellar room. Mine stayed in our kitchen the whole night and it was fine too. But … just to be safe …
- Next day, you can cut your homemade paneer into cubes and prepare your prefered paneer dish.